Did you ever set out to do something and then once you started you totally got sidetracked and ended up doing something completely different but with a very happy ending?
That is exactly what happened to me.
I went downstairs to my craftroom to CLEAN!
Sadly, the room is still not finished and I have managed to consistently pile my stuff on my table, the couch, the floor, etc., you get the point right?
So I started to clean off the table and then I found a basket I was given a gift in from one of my students. A light bulb went off in my head and I said to myself, "I could use this to organize my craft supplies, but I need to pretty it up a bit."
Somehow through all the cleaning and the craft ideas spiralling through my brain, I decided to use a stripped fabric I had laying around to make a basket liner.
Great idea without a plan!
You might ask me, have you ever made a basket liner before?
NOPE!
Do you have a pattern to make one?
NO!
So what's a girl to do...
make one anyways:)
So that's what I did. Sadly, I didn't take any pictures of the process, I was too excited about finishing it but here are some directions to follow. Hopefully they make sense and are helpful to you.
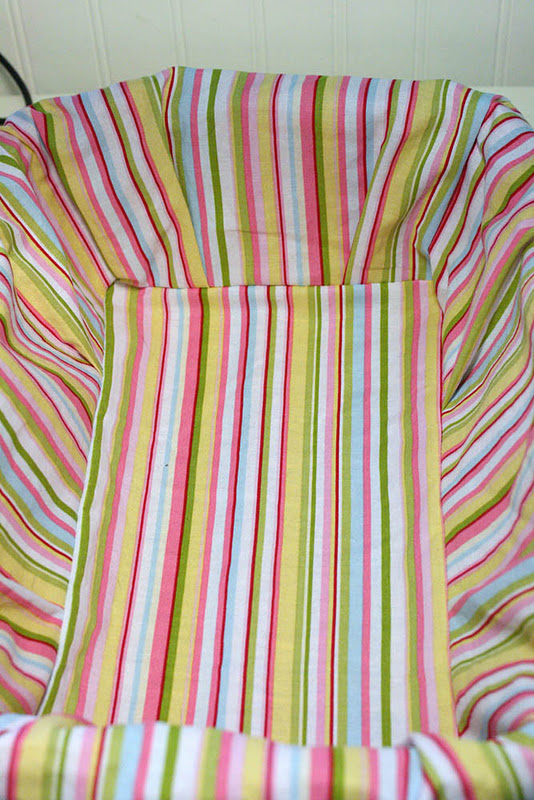
Using the basket as a guide, I measured the bottom portion of the basket and added about a half inch on each side for a seam allowance. Then I measured the two narrow sides only then realizing that the top part of the basket actually flares out. Not wanting to bother with angles, I decided to cut the two sides at the widest length and then gather the material at the bottom leaving room for your seam allowance. You can gather the material any way you want but I was lazy and decided to make two tucks in the material. After I sewed the two sides to the bottom, I measured the two long sides. It was here that I noticed the handles and realized I had to figure out a way to go around the handles and still have the liner hang over the sides. Leaving that for later, I cut the two long sides at the widest part and sewed them to the bottom rectangle once again tucking the fabric and leaving material for a seam allowance. I then pinned and sewed the edges together on all four sides. After I placed the liner in the basket, I cut slits where the handles would go and measured the length of how far I wanted the liner to hang over. I folded under the slit for the handles in order to make a nice clean edge. Then I pinned and sewed a wide seam so I could add a ribbon through the liner. I then threaded two ribbons through the seam and tied a pretty bow next to the handles.
Here are the pictures of my new basket liner.
Isn't she pretty?


What do you think?
The whole process only took me a couple of hours while my son napped and I am not an experience seamstress. I think I might have to find some more baskets to make liners for :)
~Katania
so lovely
ReplyDeleteNatasha xxx
www.serenityyou.blogspot.com