Showing posts with label Spring. Show all posts

Thursday, May 19, 2011

I HAVE to make these!

OMG! I was blog surfing today during nap time of course and came across these adorable clothespins over at


Source: Scrapbook & Cards Today


Now these babies really put my clothespins to shame (:( sob).  Anyways... I absolutely HAVE to make these!  I can't wait to go to Walmart tomorrow for some paint, magnets, wire, and clothespins. Hopefully I will have another project done and a new post with my new clothespin butterflies soon. 
Also check out the bird houses too! 


I am thinking these would make an adorable mantel display.  Too bad I don't have a mantel but I might just invest in a couple of different birdhouses for my spring decor.

Ahhh... I just love when I find an idea I am excited about and can pull together pretty easily, don't you?

~Katania

Tuesday, May 10, 2011

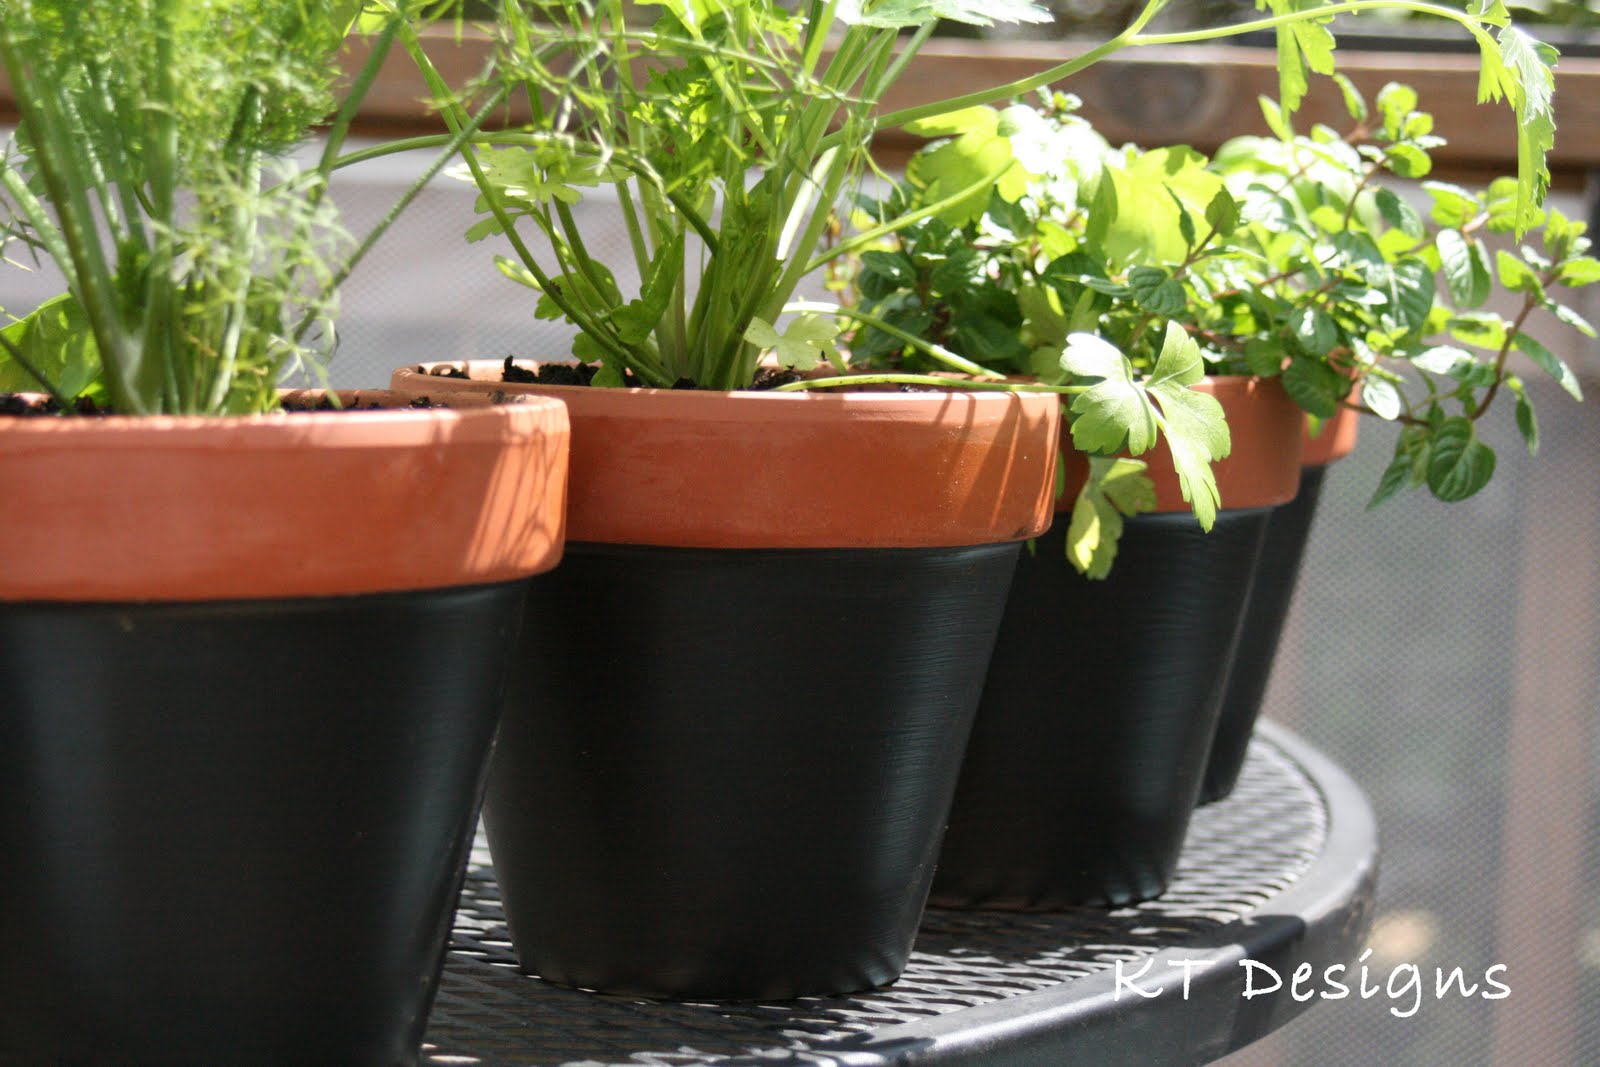
{Tutorial} Terracotta, Chalkboard Paint, and Herbs

Okay, what do terracotta pots, chalkboard paint,
and herbs have in common?
ABSOLUTELY NOTHING,
Unless you are creating something FABULOUS for your garden!
HELLO GORGEOUS!

Since we moved into our house in 2006, I planted herbs in different types of pots on the deck.  The herb pots always provide me with fresh herbs throughout the season.  We also have a huge vegetable garden but it isn't always feasible to trek out to the garden (it's at the back of our property) just to snip a bit of basil for dinner.  The only problem I had was that I hated the pots I planted the herbs in and I always stuck the tag in the pot to remember which herb is which.  Definitely not the best looking herb garden.  So after doing a little blog surfing (well... maybe a lot) I spotted pots painted with chalkboard paint.  Let me just tell you this... I am in love with these pots and chalkboard paint.  SUPER FUN! 

Well to keep things just a little bit messy around here, I decided to tackle this project and provide you with a tutorial so you can create your very own herb garden.  But first...let me whet your appetite!


Supplies:

Terracotta pots
Chalkboard paint
Frog Tape
Paint brush
Newspaper to protect your surface

Step #1:

Tape the top rim of your pot with the Frog tape. 
Make sure you smooth out any bumps or you will
end up with some paint where you don't want it. 
(I kinda forgot to do this step and kinda ended up with a big mess but I learned from my mistake and will show you how to fix it.)

Step #2:

Mix your paint well and paint your pots trying to
make it as smooth as possible.  Let dry for a couple of hours.

Step #3:

Paint your pots with a second coat and let dry for a couple of hours.

Step #4:

Remove the tape and GASP! loudly when you notice the paint on the rim of the pot.

Step #5:

Take a deep breath and then find some fine grit sandpaper.  Lightly sand the end of your pot until all the extra paint has been removed.  Then wash the dust off your pot and let dry.
Your pots will go from

"Oh no!"
 
to "Oh yes!"


Look how fabulous they look all cleaned up!

Step #6:


Fill the pot with potting soil and add your herbs. 

Step #7:


Now the fun part! Steal (I mean borrow) your son's sidewalk chalk and write the names of the herbs on the side of the pot. I am still looking for those smudge proof chalk markers but I haven't found them yet.  The best part about chalk, is if you make a mistake or you have different herbs each year, just take a wet cloth and erase the words then write the new ones in.

I am extremely happy with the way the pots turned out and can't wait to add the herbs to my cooking.  I also want to add some twine around the top part of the pot and buy a tray I found at HomeGoods to hold all the pots.  If I end up changing things up I will definitely take some pictures to show you. 

Now it's your turn to shine!
Have you used chalkboard paint in your
garden this year? 
Leave a comment and if I get at least five different ideas I will post a {Friday Favorite} Chalkboard Paint edition. 
I would love to feature your work :)

~Katania

Sunday, May 8, 2011

Happy Mother's Day and a Sneak Peek

Happy Mother's Day
 to all the awesome moms out there!
I hope your day was extra special and you were appreciated and loved by your little ones and love of your life:)

Love this little man! (Check out the Donald Trump comb over! I think it's time for a haircut again.)

Since I was very busy this weekend,
(lucky me attended a Hybrid Crop at Papercraft Clubhouse in Westbrook, CT for National Scrapbook Day and spent some quality time with my lovely family for mother's day) I was unable to get any pictures and posts up.  Also I am still trying to finish my post about the pencil toppers I shared with you earlier.  I didn't forget, I have been experiencing technical difficulties :). I was hoping to add the gypsy file to the post for download but every time I try to backup my gypsy, it stops working and I can't get the right file on my computer.  If I can't fix the problem, I will have to post without the file :( Sorry.

I started working on a project about a week ago and I am so excited because I just finished it this morning.  I still want to add some twine and pick up a tray I found at HomeGoods but I am excited about what I have already. 

Here's the sneak peek!


Do you have any idea what it is?

Come back soon to check it out and get the tutorial!

~Katania

Sunday, May 1, 2011

Spring!

It was such a gorgeous weekend here and I just couldn't say indoors.  I was unable to get anything crafty done, but I figured I could make due with some spring photos.  Also, I have been working with my camera, trying to remember how to use it off AUTO (gasp... yes I have been using Auto for a while now) but not for these photos of the daphodils (yes they are all daphodils) in my garden.  Let me know what you think :)


My favorite!


Ok, I promise I will post the pencil topper tutorial sometime soon.  This coming week will be a bit crazy but I should have some time to get everything typed up.  Until then, enjoy the lovely weather and the beautiful flowers :)

~Katania

Tuesday, April 26, 2011

Easter/Spring Decorations


Source? Does anyone know where this is from?

Welcome to the entryway into my home! 
For Easter/beginning of Spring this is what you are greeted with as you enter my front door.  My black mirror and side table always stays where it is but I like to change things up with each new season or holiday.  I framed the printable from (please help, I can't find out where I downloaded this printable from and I want to give proper credit!) in a black frame and then matted it with a white mat.  Under the mat and around the print, I added a yellow ribbon to add a little bit more to the frame.  Then I took a regular mason jar (I have a ton of these laying around) and removed the lid portion but kept the screw part of the lid (not sure what it is called).  With my trusty scissors, I went in search of fresh flowers to cut.  I ended up cutting a bunch of my daffodils and just popping them in the jar with some water. 


 Lastly, I added a yellow and white polka-dotted ribbon to the neck of the jar.


Here are some more photos for you to enjoy!  What have you done to your house for Easter/Spring?  Also please help, I am unsure of where I downloaded the printable from and would love to leave a link and proper credit.  Thank you!


~Katania