Showing posts with label Easter 2010 Cartridge. Show all posts

Wednesday, May 11, 2011

{Tutorial} Easter Pencil Topper


I am sure you have all seen the pencil toppers you can buy from any teacher supply store or Oriental Trading, especially around Valentine's Day.  Yeah, they are kinda pricey and not really that cute!  So I figured I could create them myself.  I actually created Valentine pencil toppers for my students this year but was unable to share them with you since I only just started this blog :)  So you get to see my Easter version.  Just let me tell you how much my students loved these.  Also not only are they getting a new pencil, it looks so darn cute as well! 

HERE'S THE TUTORIAL!!!
I will be including information so you can copy my design using your gypsy and cricut, however, you could also create this pencil topper using scissors and a hole puncher.  Due to technical difficulties, my gypsy file cannot be uploaded at this time.  Check back periodically to see if I have resolved the problem:)

Supplies:


Cricut Expression
Easter 2010 Cartridge
George and Basic Shapes Cartridge
Gypsy
Happy Easter Printout (download HERE)
Two coordinating colors/patterns of cardstock
Glue runner
Zots glue dots
Pencils
Embellishments

Directions:

1. Turn your Cricut on and insert George and Basic Shapes Cartridge.

2. Press the Center Point button on your machine and adjust the height to 2 inches.

3. Load your mat with the Happy Easter Printout and move the blade so it appears to be in the middle of your words. (Note: It usually takes me two or three tries to get it perfect.)

4. Highlight the shift key and the Q/Circle key and then press cut.  Repeat this for each circle.

5. Create a file on your Gypsy with the eggs at 4 inches and connect it to your Cricut.  Load your paper and press cut.
(Non Gypsy Users: Cut out Eggs using Easter 2010 Cartridge at 4 inches.  Punch top and bottom of the egg with a hole puncher.)


6. Remove from mat and set aside or create a pretty design and take a picture like I did :)

This makes me smile :)


7. Create a file with scalloped circles on your gypsy.  Load your second paper and press cut.
(Non Gypsy Users: Cut scalloped circles at 2 1/2 inches)


8. Remove from mat and set aside.  Turn off Cricut and Gypsy.


9. Gather all your supplies including all cut outs and glue.


10. Glue Happy Easter circle in the middle of the flower cut out with any type of glue runner.  I try to make it centered and have the indent of the scallop on the very top and bottom (it helps when you are lining them up with the holes)


11. Using Zots glue dots place one or two dots on the back of the flower shape.


12. Attach the flower shape to the center of the egg and let it cure for a bit.  Notice how the indents of the scallop line up with the holes :)

13. Slide your pencil gently through the two holes.  Voila!

Now comes the fun part!  Grab all sorts of embellishments and make the pencil toppers pretty.  Here are two other versions I created!


Just a few more photos!


If you have any questions, please feel free to contact me via comment.  I am still working on uploading my gypsy files so you can create the pencil toppers without all the hassle of creating the gypsy files but I am having technical difficulties.  I will post as soon as the problem is resolved! Stick around because I plan on creating yet another pencil topper for the end of the year and for my new students:)

~Katania

Saturday, April 16, 2011

Easter Decorations: Happy Easter Banner

Okay if you haven't figured it out yet, I LOVE banners!!!  I love creating a new banner with decorative paper for each holiday or special occasion.  Since I started this blog after many of the holidays passed you missed out on my Autumn banner, Thanksgiving banner, Winter banner, and Christmas banner.  I was actually inspired to start creating banners by the Cricut Message Boards and all the fantastic and creative ideas there. Click to register and view the Cricut Message Board.  I promise you won't be disappointed!  But anyways... I LOVE banners!  So in staying with the same theme as my Easter egg collage, I created larger Easter eggs from the Easter 2010 cartridge using the same paper and colors.  I then cut out Happy Easter using Lyrical Letters and ran them through my Xyron upside down so I could sprinkle Martha Stewart glitter on top.  This is the best way to glue glitter down if you want the letters to be flat.  If you are interested in a bubbled letter I use Glossy Accents to fill in the letter and then just sprinkle glitter.  Here is my banner! 


Hanging in the doorway between my living room and dining room.
 

Even the back is decorative!


Here are the close ups! Sorry for the pictures, I finished it at night so the lighting was really bad.


I tied each egg together with a little bit of tulle and some purple, pink, and green ribbon.  I also pop dotted the letters off the eggs (surprise, surprise).  I think I might add some of the faux pearls if I can find them in larger sizes.  I know the last time I went to Michael's they had a ton of different styles and sizes.  

If you are in LOVE with banners as much as I am please leave a comment with a link to your blog showcasing your latest banner design.  I would love to see them and leave a comment :)

Also if you are interested in purchasing a custom or holiday banner please leave a comment with your contact information or email me HERE for current pricing and options.

I am linking up at I Heart Nap Time
~Katania  

Easter Decorations: Easter Egg Collage


LOVE THIS!

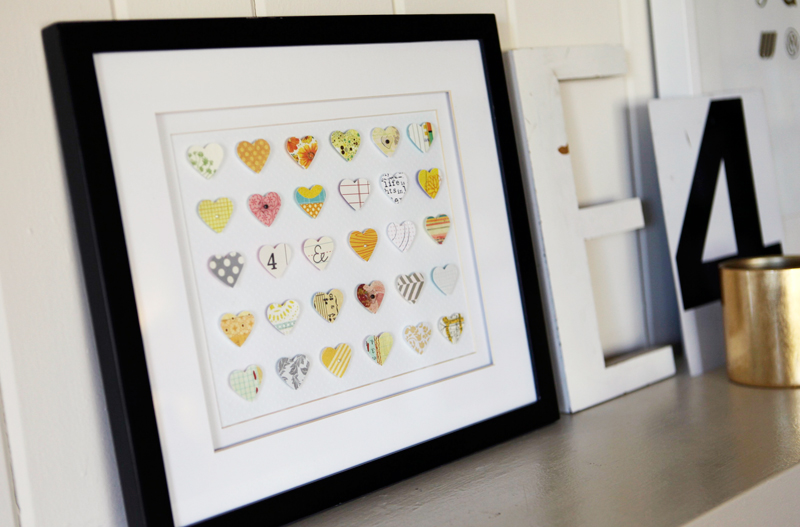
So a while ago I saw this picture from First Lady of the House and filed it away as inspiration for a future project.  I mean how cute is this idea of just repeating a holiday shape and matting it in a frame.

Source: First Lady Of The House

I absolutely adore her decorative frame but I just haven't been able to find a ornate frame I like.  Also I consider my house to be simplistic with a just a touch of modern lines.  I'm not really sure if this makes any sense just know my house is filled with neutral colors, clean lines, dark wood furniture, and black and white photography.  I do not like clutter so I tend to decorate just a little bit and then remove my decorations as soon as the holiday is over.  However, I finally completed my egg collage and I might just have to leave it out for a while.  I used my Cricut to cut out the Easter eggs from my Easter 2010 cartridge.  I planned on using two different types of eggs but I didn't like how each egg was a different shape and size after they were cut.  The bottom layer is a darker pastel and the top layer (flowers) is the lighter pastel.  I also pop dotted (yup, I'm using them again, I told you I love to use pop dots) each egg for dimension and added small adhesive faux pearls from Recollections.  I love these things!  I definitely have to pick up some more! 
Let me know what you think. :)


I added ribbon directly to the mat and just used my glue tape to attach it.


The frame is from Target and only cost me $10!!!

I placed the pearls in the center of each flower cut out.
I also found these two pictures online with two different versions of collages. 


Source: The Idea Room

Source: Ali Edwards

Since I absolutely LOVE butterflies I think I will create a collage using the butterflies for my new craft room downstairs (if we ever finish it).  I also like the idea about taking the glass out so the wings are not squished.  If you have created one of these collages, I would love to see it.  Just leave a comment with a link to your blog and I will be sure to visit and leave a comment for you :)

I am linking up at I Heart Nap Time
~Katania

Please follow me if you like what your see :)